31
I thought it would be fun to end this week with a little DIY project I did last weekend. And seriously, you guys, it's a super easy one. I've had this idea since December but I finally found the right log a couple weeks ago on a walk. It was just lying there in a park, so I rescued it ;) You could do this project with any kind of wood, but I was super excited to find a birch log. I think birch bark is so pretty!
The first step was to slice the wood. Ben handled this part for me (thanks hon!) and I peeled off the dirty outer layer. That was all I had originally planned to do, but I wasn't a fan of those gray marks in the middle so I decided to paint them. If you like the look of the wood rounds unpainted, you could definitely use them this way. So easy!
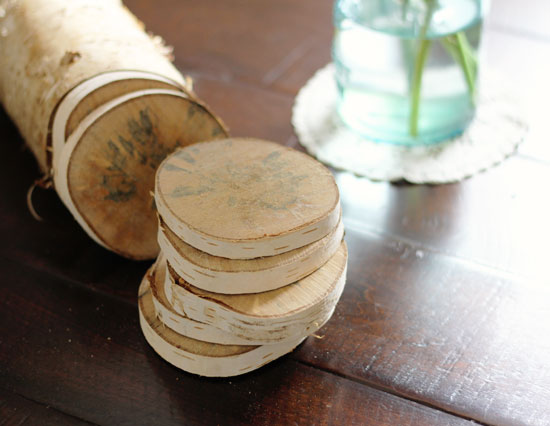
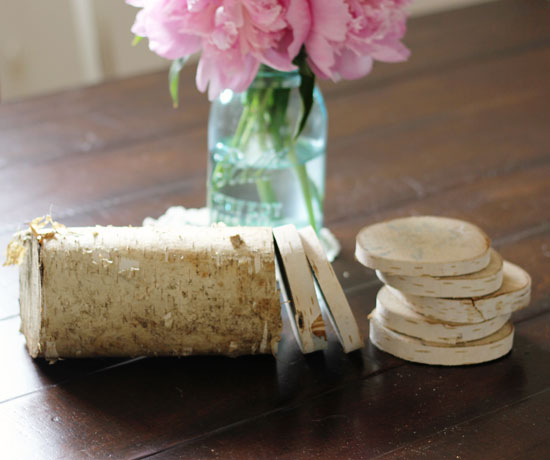
I didn't even have to clean the wood because that papery outer layer stripped right off...look how clean and pretty it was underneath!
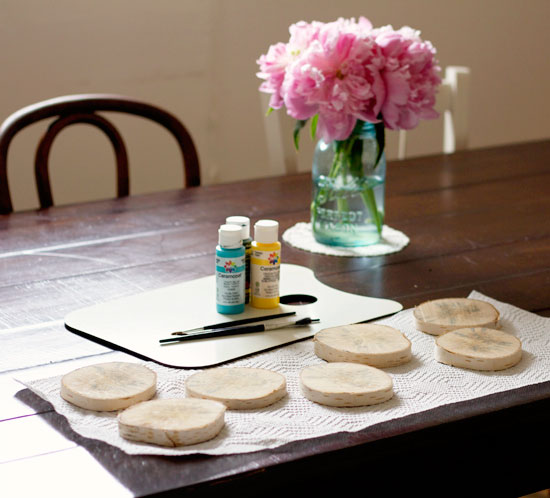
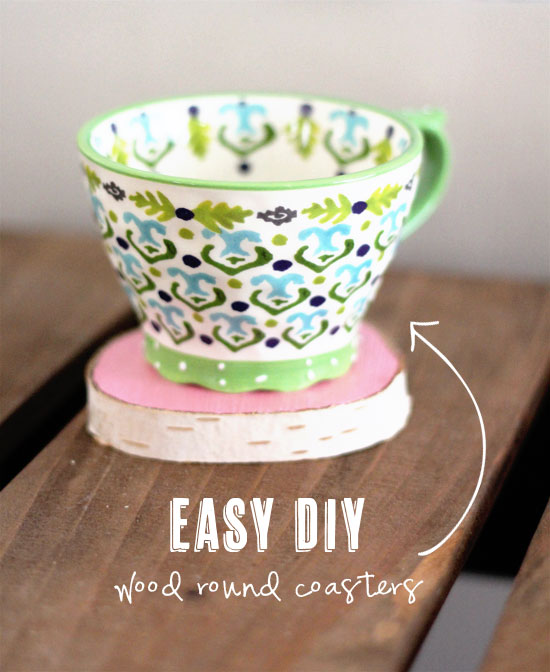
I already had some paint colors at home so I got right to it. I painted one side of each slice, leaving a rim around the edge. I kept the other side unpainted, so I can always flip them over if I want a more rustic look. After the paint dried, I added a layer of varnish to seal it and add some shine.

Do you recognize the bracelet from my wishlist? It was my birthday present from Ben!
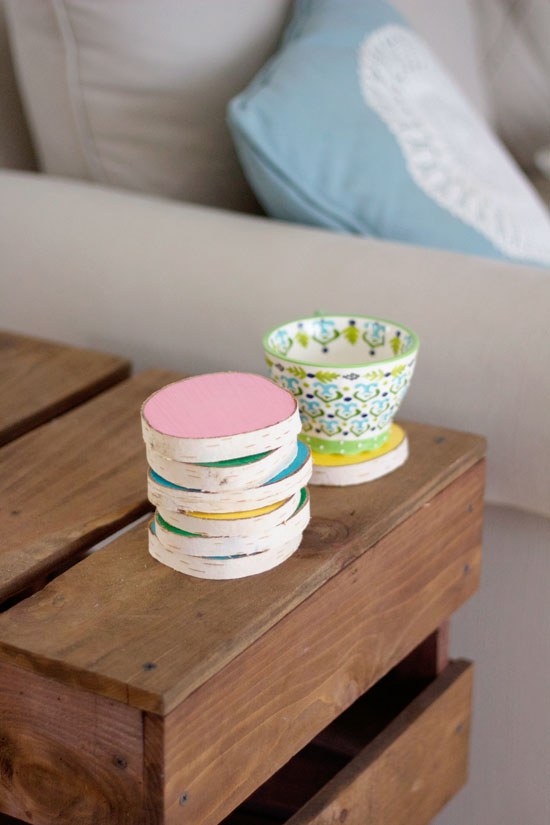
Here is the final result. I really like how these turned out, and the total cost was $0! Can't beat that.
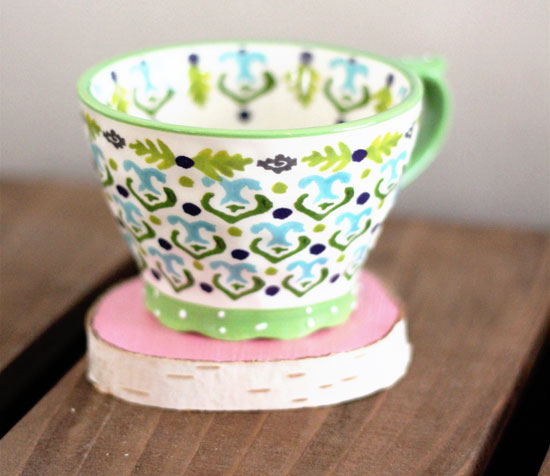
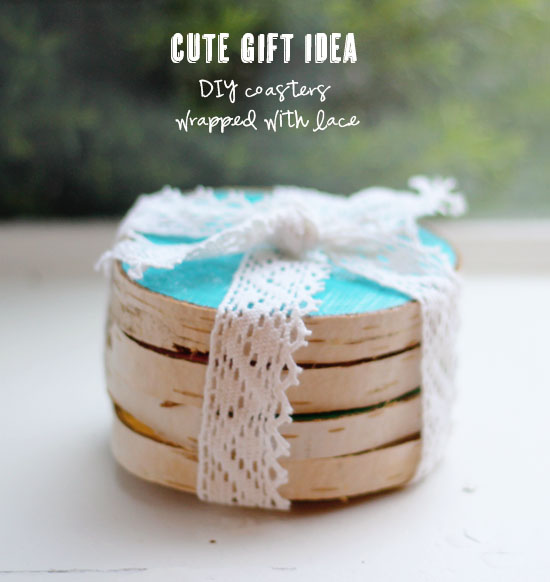
I think these DIY coasters would make perfect little house warming presents or hostess gifts. I still have half a log left--I think that is what I will do with it. Just stack a few and wrap with lace or ribbon!
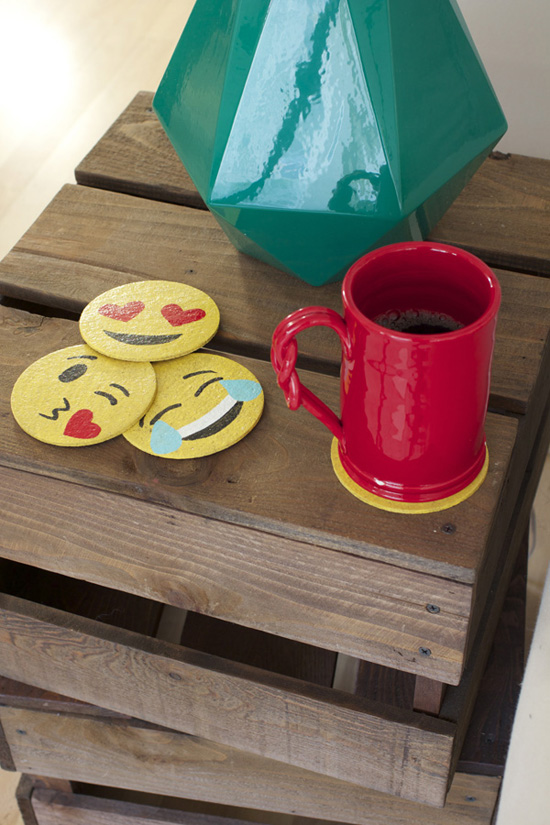
I hope you guys liked this idea! I'll try to share more of my projects with you every so often. I really love DIYs--especially quick ones that don't cost a lot. In fact, that crate side table in some of the photos is a DIY that Ben and I made after we first got married. We didn't have money to buy a bunch of furniture, so we stained some boards that we already had, built crates, stacked them, and then screwed them together.
What are some of your favorite DIY projects that you have done so far--or that you're planning to do?


Wow, I really love this!! They look like something you'd find at Anthropologie :)
Thanks Mel! I love Anthro, so that's a big compliment :)
These are such a cool idea, I love the colours against the wood! Thanks for sharing
Came here through a Creature Comforts link and I'm staying (and by that I mean I'll subscribe for updates). I really like your blog, it's refreshing to see new ideas in the blogosphere. Also, thank you for not painting the coasters chevron (personally, I've had enough of that) :)
Thank you! I'm so glad you found me. And I'm with you, I've had enough chevrons for quite awhile!
These are super cute, Aileen! I love them.
these are way cute! i'll have to try this
kw ladies in navy
Cute! Love the colors
They were fun to make!
So glad you found birch! Perfect. The gift idea is also great.
Fun! I like those! Ben should do a post about it on Surviving Urban since those are so "woodsy". ;)
This is such a cute DIY! And that even uncrafty ladies like myself could pull off!
i absolutely adore this summer, colourful, brilliant diy! thanks for sharing!
xx
http://petalandplume.blogspot.ca
Wow Aileen, these are darling! What a great idea!
These would make perfect wedding guest favors for a rustic or shabby chic wedding. Thanks for sharing!
Yes, that's a great idea! Budget-friendly too, just a little labor of love needed.
They are really beautiful. I love the pattern and texture of birch. How did Ben cut them? Wondering how he got them so even. I'd love to try this, but bit dubious about my ability to saw/cut them without mangling!
Hi Aoife! I love the look of birch too, and I'm so glad you like this project :) Ben just used a handsaw to cut ours. The log was long enough to begin with that he could get a good grip on the other end so it didn't move around while he was sawing.
I loved the coasters and would love to make them, I'm going thru breast cancer right now & l don't have a lot of energy so l need to ask you where did you find that round piece of wood & what kind of saw did you use to cut them & how did you take the bark off, l would really love to make these. Maybe you could e-mail me how you did it all, l would really appreciate it. Thank you, Dorothy Fredriksen
That's a great idea!