Oct
22
22
Hi, this is Renae from Leona Lane. I'm an ICU nurse by day (or sometimes night). In my spare time, I love making things, thrifting, baking and blogging about it all! I also love coffee, the changing seasons, anything vintage, cute cats, instagram, project life, long walks, pinterest, and people watching. I was born and raised in the Pacific Northwest and right now I'm calling Seattle home. I'm lucky to be living with my best friend (and husband) Joe and our cute (but crazy) cat Malcolm. I'm excited to be guest posting for At Home In Love today. I'm sharing a fun little DIY that I whipped up recently.
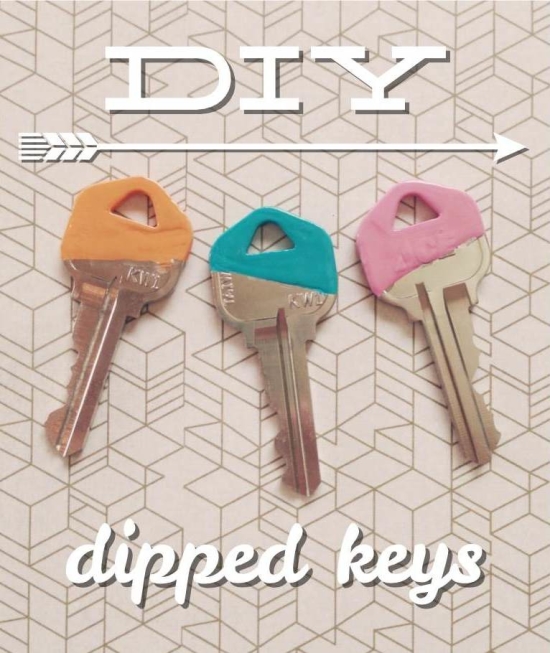
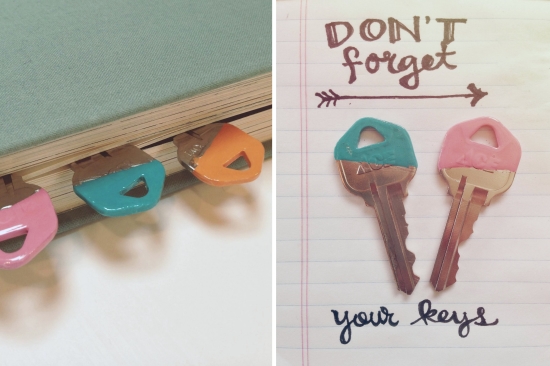
My husband and I recently rented a new place which we love! What I wasn't loving was fumbling through all the different keys to get the door open! We have three different keys for three different locks. I've been loving the dipped paint trend recently, so I decided to color code my keys using the dipped paint effect. I love how they turned out!
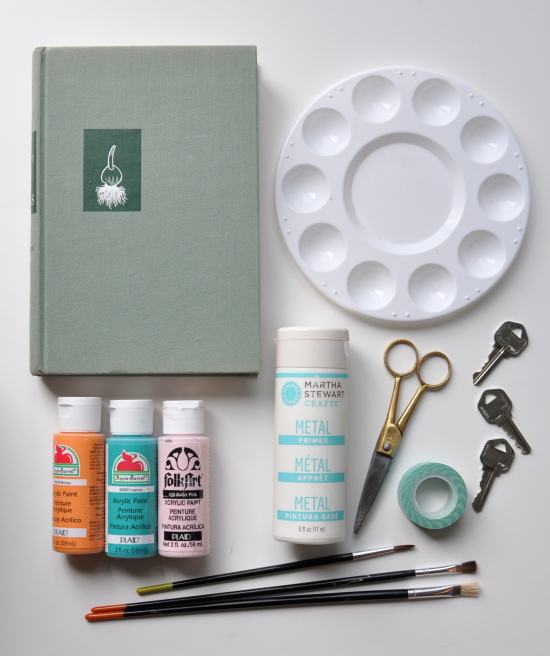
Here's what you'll need:
Keys
A book (that you don't care about)
Paint Palette
Paint Brushes
Metal Primer
Variety of paint colors
Washi or Masking Tape
Scissors
Diamond Glaze (link: http://www.amazon.com/
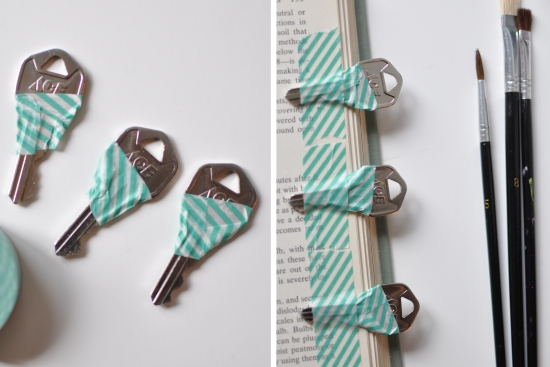
First tape off your keys at a diagonal. Make sure to press down firmly on the edges so paint won't seep underneath. Then open up to the middle of the book and tape the keys down on the edge of the page. This makes it much easier to paint all sides of multiple keys at once. You don't have to worry about the one side drying before flipping it over.
Now you're ready to paint. First apply a coat of metal primer to each key on all sides. Let it dry - meanwhile go work on something else (or if you're lucky like me, go hold your friends cute new baby!)
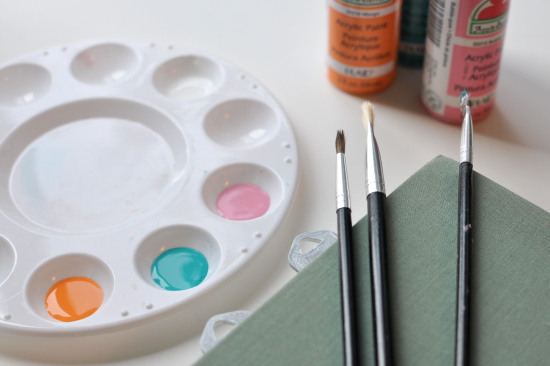
Once the primer is dry start applying coats of acrylic paint. I applied three thin coats to achieve good coverage, letting the paint dry between coats.
Once the paint is dry, remove the tape that is masking the edge of the keys. The diamond glaze acts as a sealant, so it will cover the painted edge, this is to try to prevent chipping. Re-tape the keys to the inside of the book.
Apply the diamond glaze with a cheap paintbrush (it would be nearly impossible to clean the diamond glaze off when you are done). Put several drops on one key at a time and spread it over the surface. Repeat with each key and all sides until everything is covered. Let it cure for at least an hour, it should feel smooth and not tacky, before applying the second coat. After the second coat, it should look almost like a gel nailpolish finish over the color - clear, even and thick.
If possible, let dry overnight or at least several hours before putting them back on your key ring!
You can check out some of my other projects on my blog, or see what I've been up to recently on Instagram!


So cute!
Such a great idea! Love this Renae-nice job!
Great idea! I love the way you taped them to the book so you could easily finish the job! Smart!