26
This post is in partnership with Signature Hardware & Riad Tile. All opinions are my own.
Back in February, we did a quick remodel of our kids bathroom. You can see the before pictures here. My goal was to refresh and update this room aesthetically without spending a ton of money. To make our budget stretch as far as possible, we decided to leave the layout the same, and keep the tub surround. A plastic tub surround wouldn't have been my first choice, but I have to admit it's easy to clean and it makes sense for a kids bathroom. I had considered doing a really budget-friendly, DIY version of this: painting our old vanity, switching out the countertop, and painting the old floor tile with patterned stencils. But after mulling it over for awhile, I wasn't confident that I'd be happy with the result. If I'm going to put the time, effort, and money into a remodel (even a small cosmetic one), I want it to last a long time. I'm the kind of person who would live with something ugly for years, rather than "waste" time and money on something I'll end up tearing out and doing over. I want to get it right the first time. So when I got the opportunity to partner with Signature Hardware, I knew it was meant to be! They have beautiful, quality vanities that will stand the test of time. I love the vanity we chose and I'm keeping it as long as we live here!
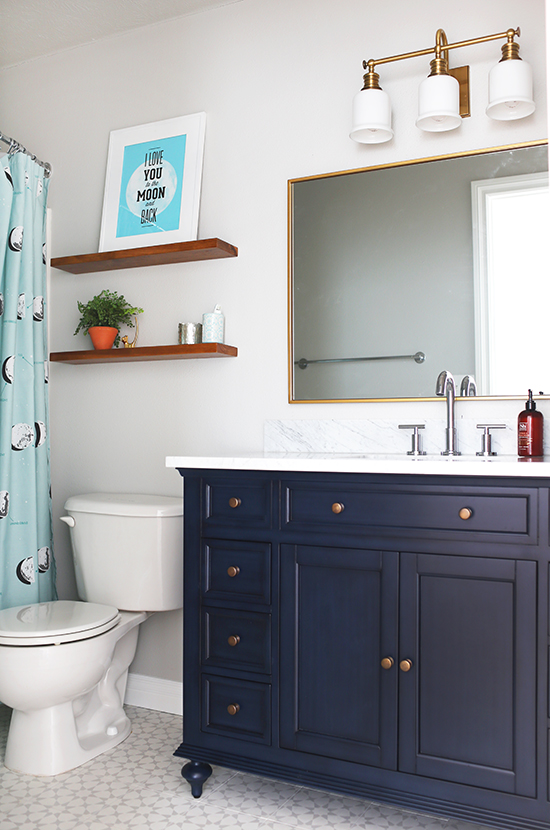
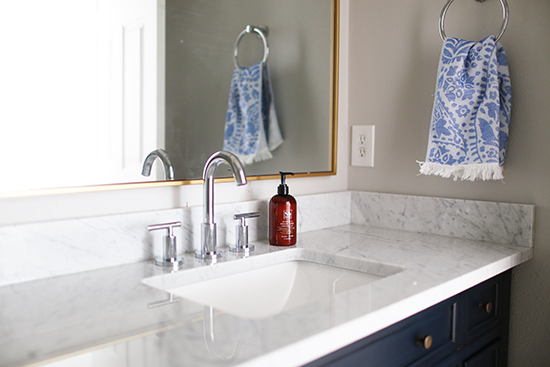
It's a gorgeous, deep blue called "vintage navy." I thought navy would be a good mix between adding color and keeping it classic. Signature Hardware lets you customize the vanity to exactly your preference. You can choose the top material (quartz, granite, marble, or no top if you want to add your own). You can select the faucet holes (8" widespread or single hole). And you can choose the type of sink you prefer: undermount, semi-recessed, or vessel. You can even customize the color of your sink, everything from white to hammered copper. I went with classic choices that I love: a chunky Carrara marble top and a white rectangular undermount sink. I debated whether marble was a good choice for a kids bathroom, but in the end I went for it. Marble is my favorite...I'll just have to seal it periodically!
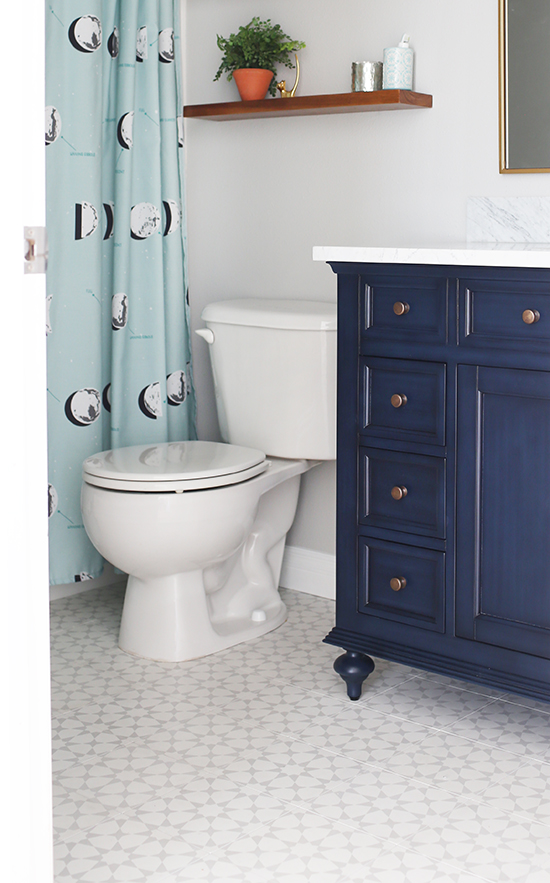
Besides the new vanity, I knew floor tile would make a BIG difference. I found this beautiful cement tile from Riad Tile. They have great reviews, and their prices are reasonable. Especially for a smaller bathroom, nice tile is a worthwhile place to "splurge." You might be surprised at how affordable it is for a small amount of square footage!
I wanted the kids bathroom to "flow" with our downstairs guest bathroom, without being matchy-matchy. I like when a house feels cohesive, but it's really boring to just rinse and repeat the same things in every space. If a house is like a family, then I wanted the guest bathroom to be the older sister, while this kids bathroom would be the younger brother...more playful, but still closely related.
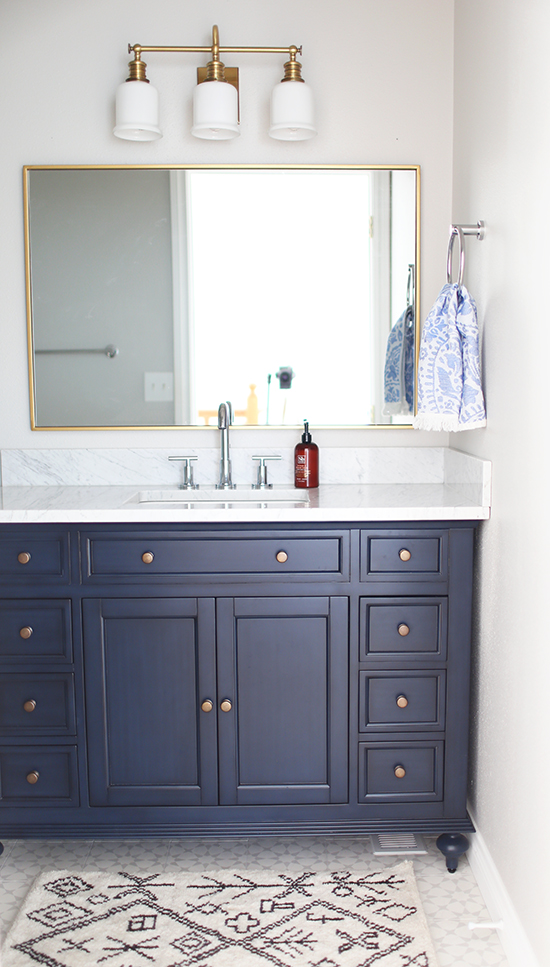
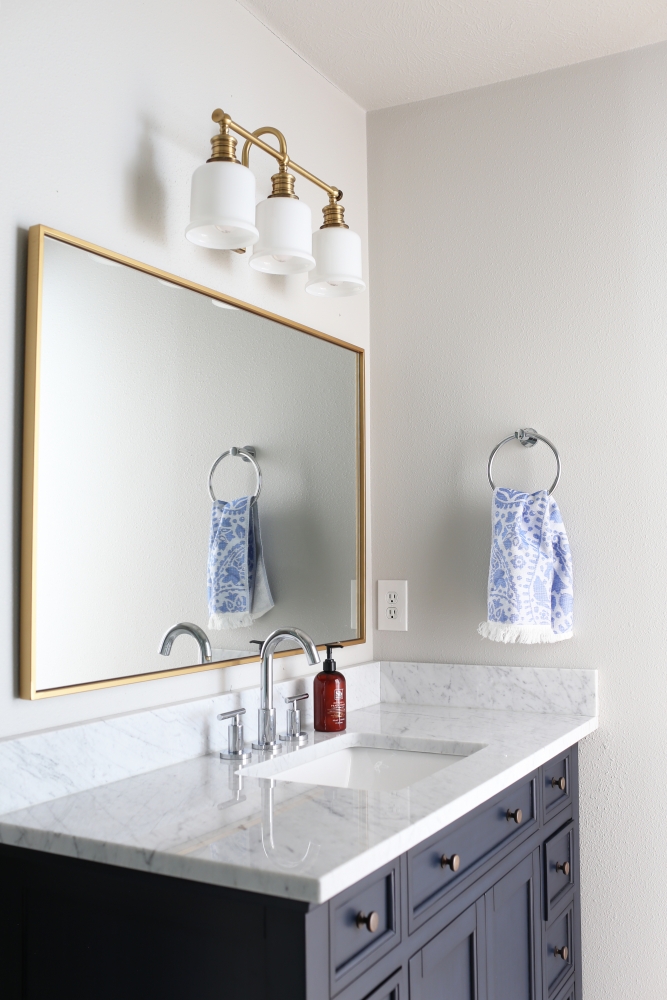
To achieve that goal, I chose some similar elements that would tie the two bathrooms together: a marble vanity top, chrome as the main metal, a modern gooseneck faucet, and brass for the light fixture and knobs. I also used a base of grey and white like we did downstairs. Instead of white on the walls, though, I went with a light grey paint color that ties in perfectly with the tile: Sherwin-Williams Repose Gray.
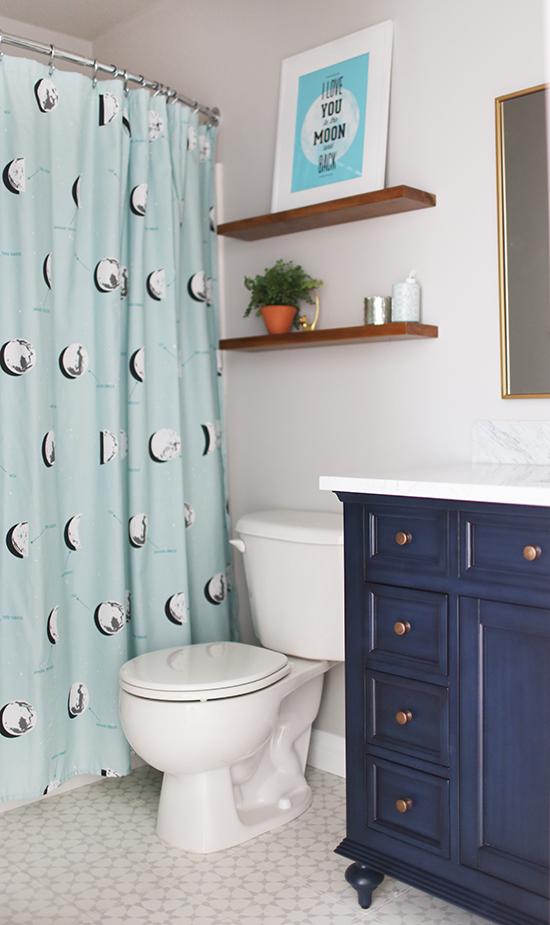
The shower curtain is an opportunity to have some fun with color and pattern in a very low-commitment way. It's like an accent wall, only you don't even have to repaint it--you can just buy another $20 shower curtain if you get sick of the first one. I hung one we already owned with phases of the moon and, to go with that theme, a print that says "I love you to the moon and back." Instead of using a regular straight-across shower rod, we bought a curved shower rod that gives you a little extra elbow space. It feels like we upgraded this room's shower experience, without spending hardly anything!
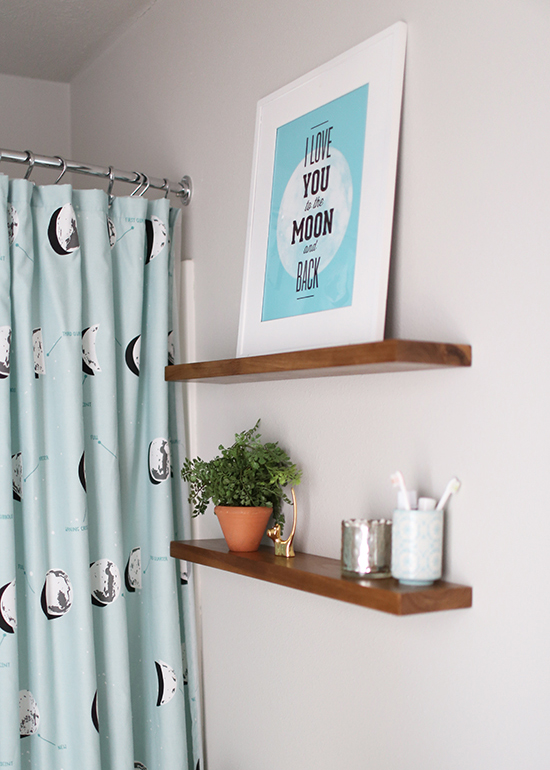
The final step to completing this bathroom was hanging those two wood shelves above the toilet. We can store toilet paper there, or place little baskets with our kids' toiletries, washcloths, and bath toys in them. That way (hopefully) we won't have a bunch of stuff cluttering the top of the vanity.
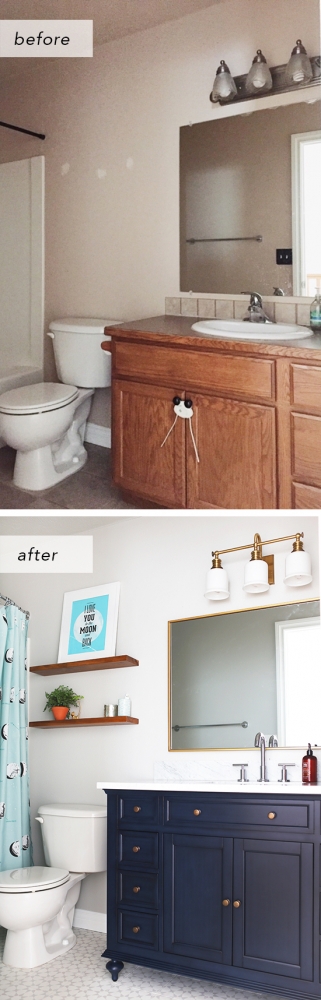
Because it's always fun to see the transformation, I thought I'd end with a before & after. This little bathroom has come a long way!
I really LOVE this makeover. I spent a lot more time agonizing over the decisions in our guest bathroom...I read tons of reviews, made Photoshop moodboards, and asked my friends what they thought about every little thing. With this room, I was a lot more decisive and I planned it really quickly. Yet even though I didn't stress it, I think everything came together perfectly!
Let me know if you have any questions. I hope you love this bathroom too!
Sources: Vanity / Faucet / Mirror / Light fixture / Wall shelves / Floor tile / Grout / Showerhead / Curved shower rod / Shower curtain


Here I get some helpful tips to remodel my old bathroom. Also, find perfect tips for step by step decoration of my house interior. How to hang bathroom mirrors frameless?
What faucet is it that you used from SH?
It was the Bareva. Looks like they may not sell it anymore. The Exira looks pretty similar except with cross handles!
Brilliant design! Appreciate your creativity and overall projection of ideas. Thanks for sharing this inspiring project.